How to Repair Your Sewer Camera Like a Pro
Trusted by homeowners across Burr Ridge and Chicago, IL
Sewer camera equipment breaks down at the worst possible moments, leaving you unable to diagnose pipe problems effectively. Professional-grade cameras cost thousands of dollars, making repairs a smart financial choice over replacement.
We at Ace Plumbing & Sewer understand the frustration of faulty equipment during critical inspections in Burr Ridge, Hinsdale, and Westmont. Most sewer camera repair issues stem from cable damage, monitor malfunctions, or camera head problems that you can fix yourself with the right knowledge.
What Causes Most Sewer Camera Failures
Camera Head Problems That Stop Inspections Cold
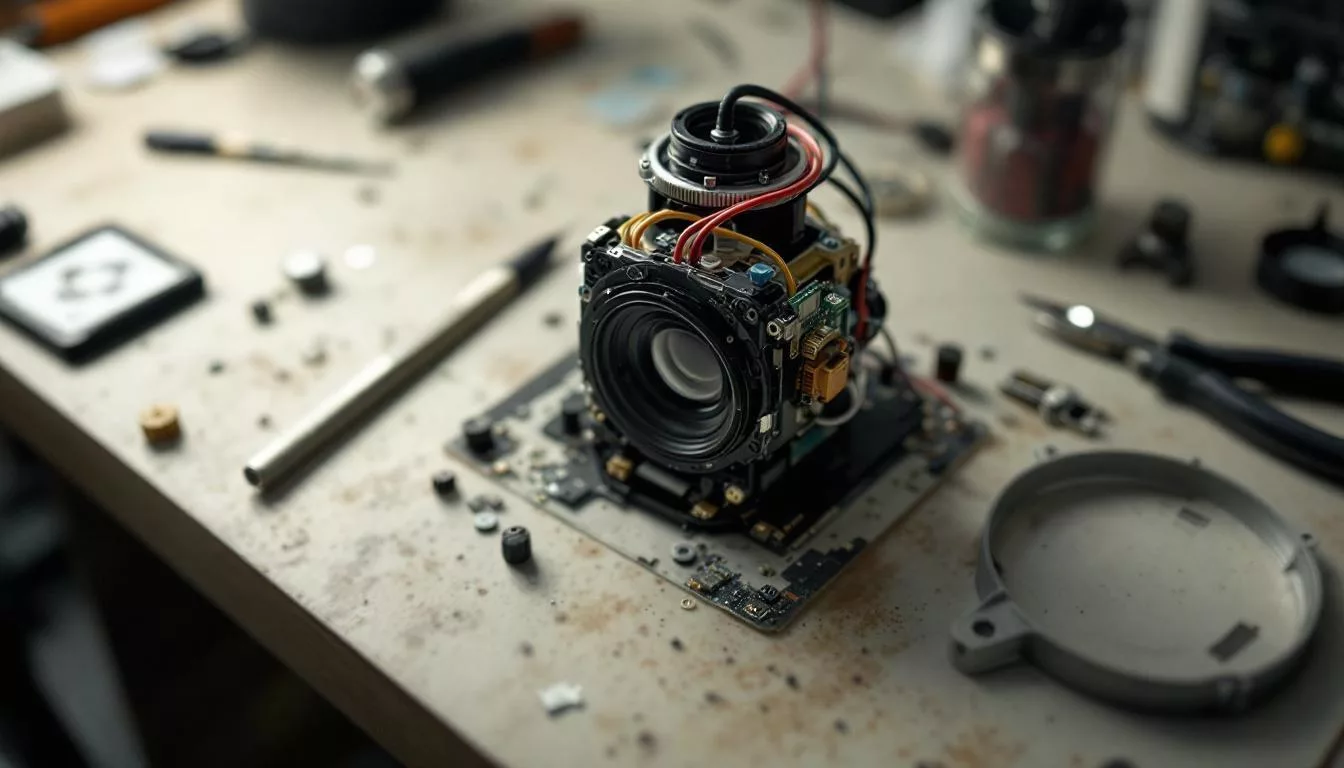
The camera head fails more often than any other component, and water damage tops the list of culprits. When moisture penetrates the waterproof seals, you’ll see a black screen or severely degraded image quality. The rubber gasket around the camera lens deteriorates with regular use, allowing water to seep into sensitive electronics. Replace the entire camera head immediately when you spot water droplets inside the lens housing – repair attempts waste time and risk further damage.
Poor image quality also stems from scratched lenses or damaged LED systems. The LED array requires +15 to 20V dc at 250mA to function properly, and voltage drops below this threshold create dim or flickering illumination that makes pipe inspection impossible.
Cable and Connection Breakdowns
Sewer coils break down from constant pressure through rough pipes, with the most common failure point occurring within the first 50 feet of cable. A scratched metal ring on the coil indicates a broken camera thimble that requires immediate coil replacement. Test your coil circuit with a multimeter – a properly functioning circuit produces an audible beep when connections are secure.

Loose connections cause intermittent video signals that appear and disappear during inspections. The connection cable between the coil and monitor experiences stress from repeated coiling and uncoiling, leading to internal wire breaks that disrupt communication. Frayed or kinked cables create resistance that affects video transmission quality (making accurate pipe assessment difficult in areas like Darien and Willowbrook where plumbing systems require precise diagnostics).
Monitor and Power System Failures
Monitor displays fail when battery voltage drops below 10.6V, causing blue screens or complete power loss. Deep discharge cycles permanently damage lithium batteries after just 50-75 incomplete charge sessions. Always use the manufacturer’s original charger to prevent voltage irregularities that shorten battery life.
The power switch mechanism wears out after approximately 1,000 activation cycles, requiring professional replacement when contacts become unreliable. Circuit board moisture from condensation creates corrosion that disrupts electronic signals, particularly affecting the meter counter functionality that tracks cable distance during inspections.
These common failures require specific repair techniques and replacement strategies that we’ll cover in our comprehensive step-by-step repair guide. For complex repairs in Hinsdale or Western Springs, consider consulting a qualified plumber who specializes in diagnostic equipment maintenance.
How Do You Fix Common Sewer Camera Repairs
Power Down and Disassemble Your Camera System
Power down your system and disconnect all cables before you begin any repair work. Remove the camera head and unscrew the waterproof housing counterclockwise – most models require 15-20 foot-pounds of torque for proper seal restoration. The lens needs alcohol wipes specifically made for optical equipment, as household cleaners leave residue that affects image quality.
Inspect the rubber O-ring for nicks or hardness that breaks the waterproof seal. Replace O-rings every 200 hours of operation or when you notice any shape changes. Clean the circuit board with 99% isopropyl alcohol and a soft brush to remove corrosion that disrupts signal transmission.

The LED array demands careful attention – use compressed air to clear debris from the housing before you wipe with alcohol. Apply a thin layer of silicone grease to O-rings before you reassemble components in reverse order.
Test and Replace Damaged Cables
Test cable continuity with a multimeter before replacement – resistance should measure less than 2 ohms for proper signal transmission. Cut damaged cable sections 6 inches beyond the visible damage point, as internal wire breaks often extend further than what you can see.
Use heat-shrink tubing rated for 125°C minimum temperature when you splice connections (standard electrical tape fails in sewer environments). Replace the entire pushrod cable when you find three or more breaks within a 50-foot section – partial repairs create weak points that fail during camera inspections in locations like Clarendon Hills and Indian Head Park.
Fix Monitor and Electronic Components
Check the power supply first when you encounter monitor issues – voltage regulators can fail with excessive input voltage and cause display problems. Replace lithium batteries after 300 charge cycles or when they no longer hold 80% capacity, as weak batteries damage the charging circuit over time.
Clean corroded battery contacts with fine sandpaper and apply dielectric grease to prevent future oxidation that disrupts power delivery. Test all connections with your multimeter to verify proper voltage flow before you move on to advanced maintenance techniques that keep your equipment running smoothly.
How Do You Keep Sewer Cameras Running Smoothly
Clean Your Equipment After Every Single Job
Alcohol wipes effectively remove debris that accumulates on camera lenses during inspections. Clean the camera head immediately after each use – waiting even 24 hours allows mineral deposits to harden and scratch the lens permanently.
Wipe the entire cable with industrial alcohol wipes every 10 uses to prevent grease buildup that causes cable stiffness and premature wear. Store your camera in a protective case with silica gel packets that maintain humidity below 40% (moisture creates corrosion that damages circuit boards within 30 days of exposure).

The waterproof seals need fresh silicone grease every 50 hours to maintain their effectiveness in sewer environments across Burr Ridge, Hinsdale, and Westmont.
Schedule Weekly Voltage Tests and Monthly Deep Inspections
Test battery voltage weekly with a multimeter – readings below 11.2V indicate battery degradation that leads to unexpected shutdowns during critical inspections. Replace batteries after exactly 300 charge cycles, not when they fail completely, as weak batteries damage the circuit and cost $400 more in repairs.
Inspect cable connections monthly for micro-fractures that cause intermittent signals. These hairline breaks appear 6-8 inches before visible damage and require immediate attention. Professional equipment manufacturers recommend replacement of O-rings every 200 hours of operation, regardless of visible condition, because rubber deterioration accelerates rapidly in harsh sewer conditions.
Know When Professional Repair Services Beat DIY Fixes
Leave complex repairs like circuit board replacement and voltage regulator issues to certified technicians who have proper testing equipment. DIY attempts on electronic components void warranties and often create additional damage that doubles repair costs in areas like Darien and Willowbrook.
Circuit board moisture damage requires specialized dehumidification chambers that cost $15,000 – equipment most plumbers don’t own. Professional repair shops complete voltage regulator replacements in 2-3 hours versus the 8-12 hours typical DIY attempts require (often with poor results that necessitate complete replacement).
Final Thoughts
Proper sewer camera repair saves thousands compared to equipment replacement while maintaining your diagnostic capabilities. Regular maintenance after each job, weekly voltage tests, and monthly cable inspections prevent 80% of common failures that disable equipment during critical inspections in Burr Ridge and surrounding areas. The cost benefits accumulate quickly when you address issues before they escalate.
O-ring replacement every 200 hours costs $15 versus $800 for water damage repairs that result from seal failure. Battery replacement at 300 cycles prevents circuit board damage that requires $400 in additional repairs (extending equipment life by 3-5 years in demanding sewer environments). These preventive steps protect your investment and maintain reliable operation.
Complex electronic repairs demand professional expertise that most DIY attempts cannot match. Circuit board restoration requires specialized equipment worth $15,000 that certified technicians use daily. When your sewer camera repair needs exceed basic maintenance or you face challenging pipe diagnostics in Hinsdale, Westmont, or Clarendon Hills, The Ace Plumber provides commercial-grade expertise and fast response times.
Proudly serving Burr Ridge and Southwest Chicago

Request a free quote
Tell us what’s going on and we’ll get right back to you. Need help now? Call and a real plumber answers 24/7.